Installing a deadbolt on a thick door can enhance your home security significantly. Deadbolts provide an extra layer of protection against unauthorized entry, making them a popular choice among homeowners. In this article, we will provide a comprehensive guide on how to install a deadbolt on a thick door, ensuring that your installation process is straightforward and effective.
Why Choose a Deadbolt?

Before we dive into the installation process, let’s discuss why deadbolts are a preferred choice for securing doors:
- Enhanced Security: Deadbolts are more resistant to forced entry compared to standard locks.
- Durability: Made from solid metal, deadbolts are designed to withstand wear and tear over time.
- Variety: They come in various styles, including single-cylinder, double-cylinder, and smart deadbolts.
According to the Bureau of Justice Statistics, homes without deadbolts are 3 times more likely to be burglarized compared to homes equipped with them. This statistic highlights the importance of investing in good locking mechanisms for your doors.
Tools and Materials Needed
Before starting the installation, gather the necessary tools and materials:
- Deadbolt lock kit
- Drill with a drill bit suitable for wood and metal
- Chisel
- Measuring tape
- Pencil or marker
- Socket wrench
- Safety goggles
- Level
Ensure that your deadbolt is compatible with the thickness of your door, which is generally between 1.75 inches to 2 inches for thick doors. If your door exceeds this thickness, you may need to look for specialized deadbolts designed for thicker applications.
Step-by-Step Installation Process
Now that you have your tools and materials ready, let’s walk through the installation process step by step:
Step 1: Measure and Mark the Door
Using your measuring tape, follow these guidelines:
- Measure 6 inches from the top of the door and mark the spot with a pencil.
- Measure another 6 inches from the bottom of the door and mark that as well.
- Find the center point between these two marks; this is where the deadbolt will be installed.
Mark this center point on the door edge, ensuring that it aligns with the lock body’s requirements specified in the deadbolt instructions.
Step 2: Drill the Hole for the Deadbolt

Using the appropriate drill bit, drill a hole through the door where you made your center mark. Follow these tips:
- Start with a smaller pilot hole to ensure precision.
- Use a hole saw attachment to create a clean, round hole once the pilot hole is established.
- Ensure that you drill straight through the door to avoid misalignment.
Step 3: Chisel the Edge of the Door

Once the hole is drilled, you’ll need to create a recessed area for the deadbolt’s faceplate:
- Place the faceplate on the edge of the door, aligning it with the hole you just drilled.
- Trace around the faceplate with your pencil.
- Using a chisel, carefully carve out the marked area to ensure the faceplate fits snugly.
Take your time with this step to avoid damaging the door’s structure.
Step 4: Install the Deadbolt Mechanism

With the hole and chiseled area ready, it’s time to install the deadbolt:
- Insert the deadbolt mechanism into the hole from the exterior side of the door.
- Secure it in place using screws provided in the deadbolt kit.
- Ensure that the bolt extends smoothly and fully into the door frame.
Step 5: Install the Interior Plate
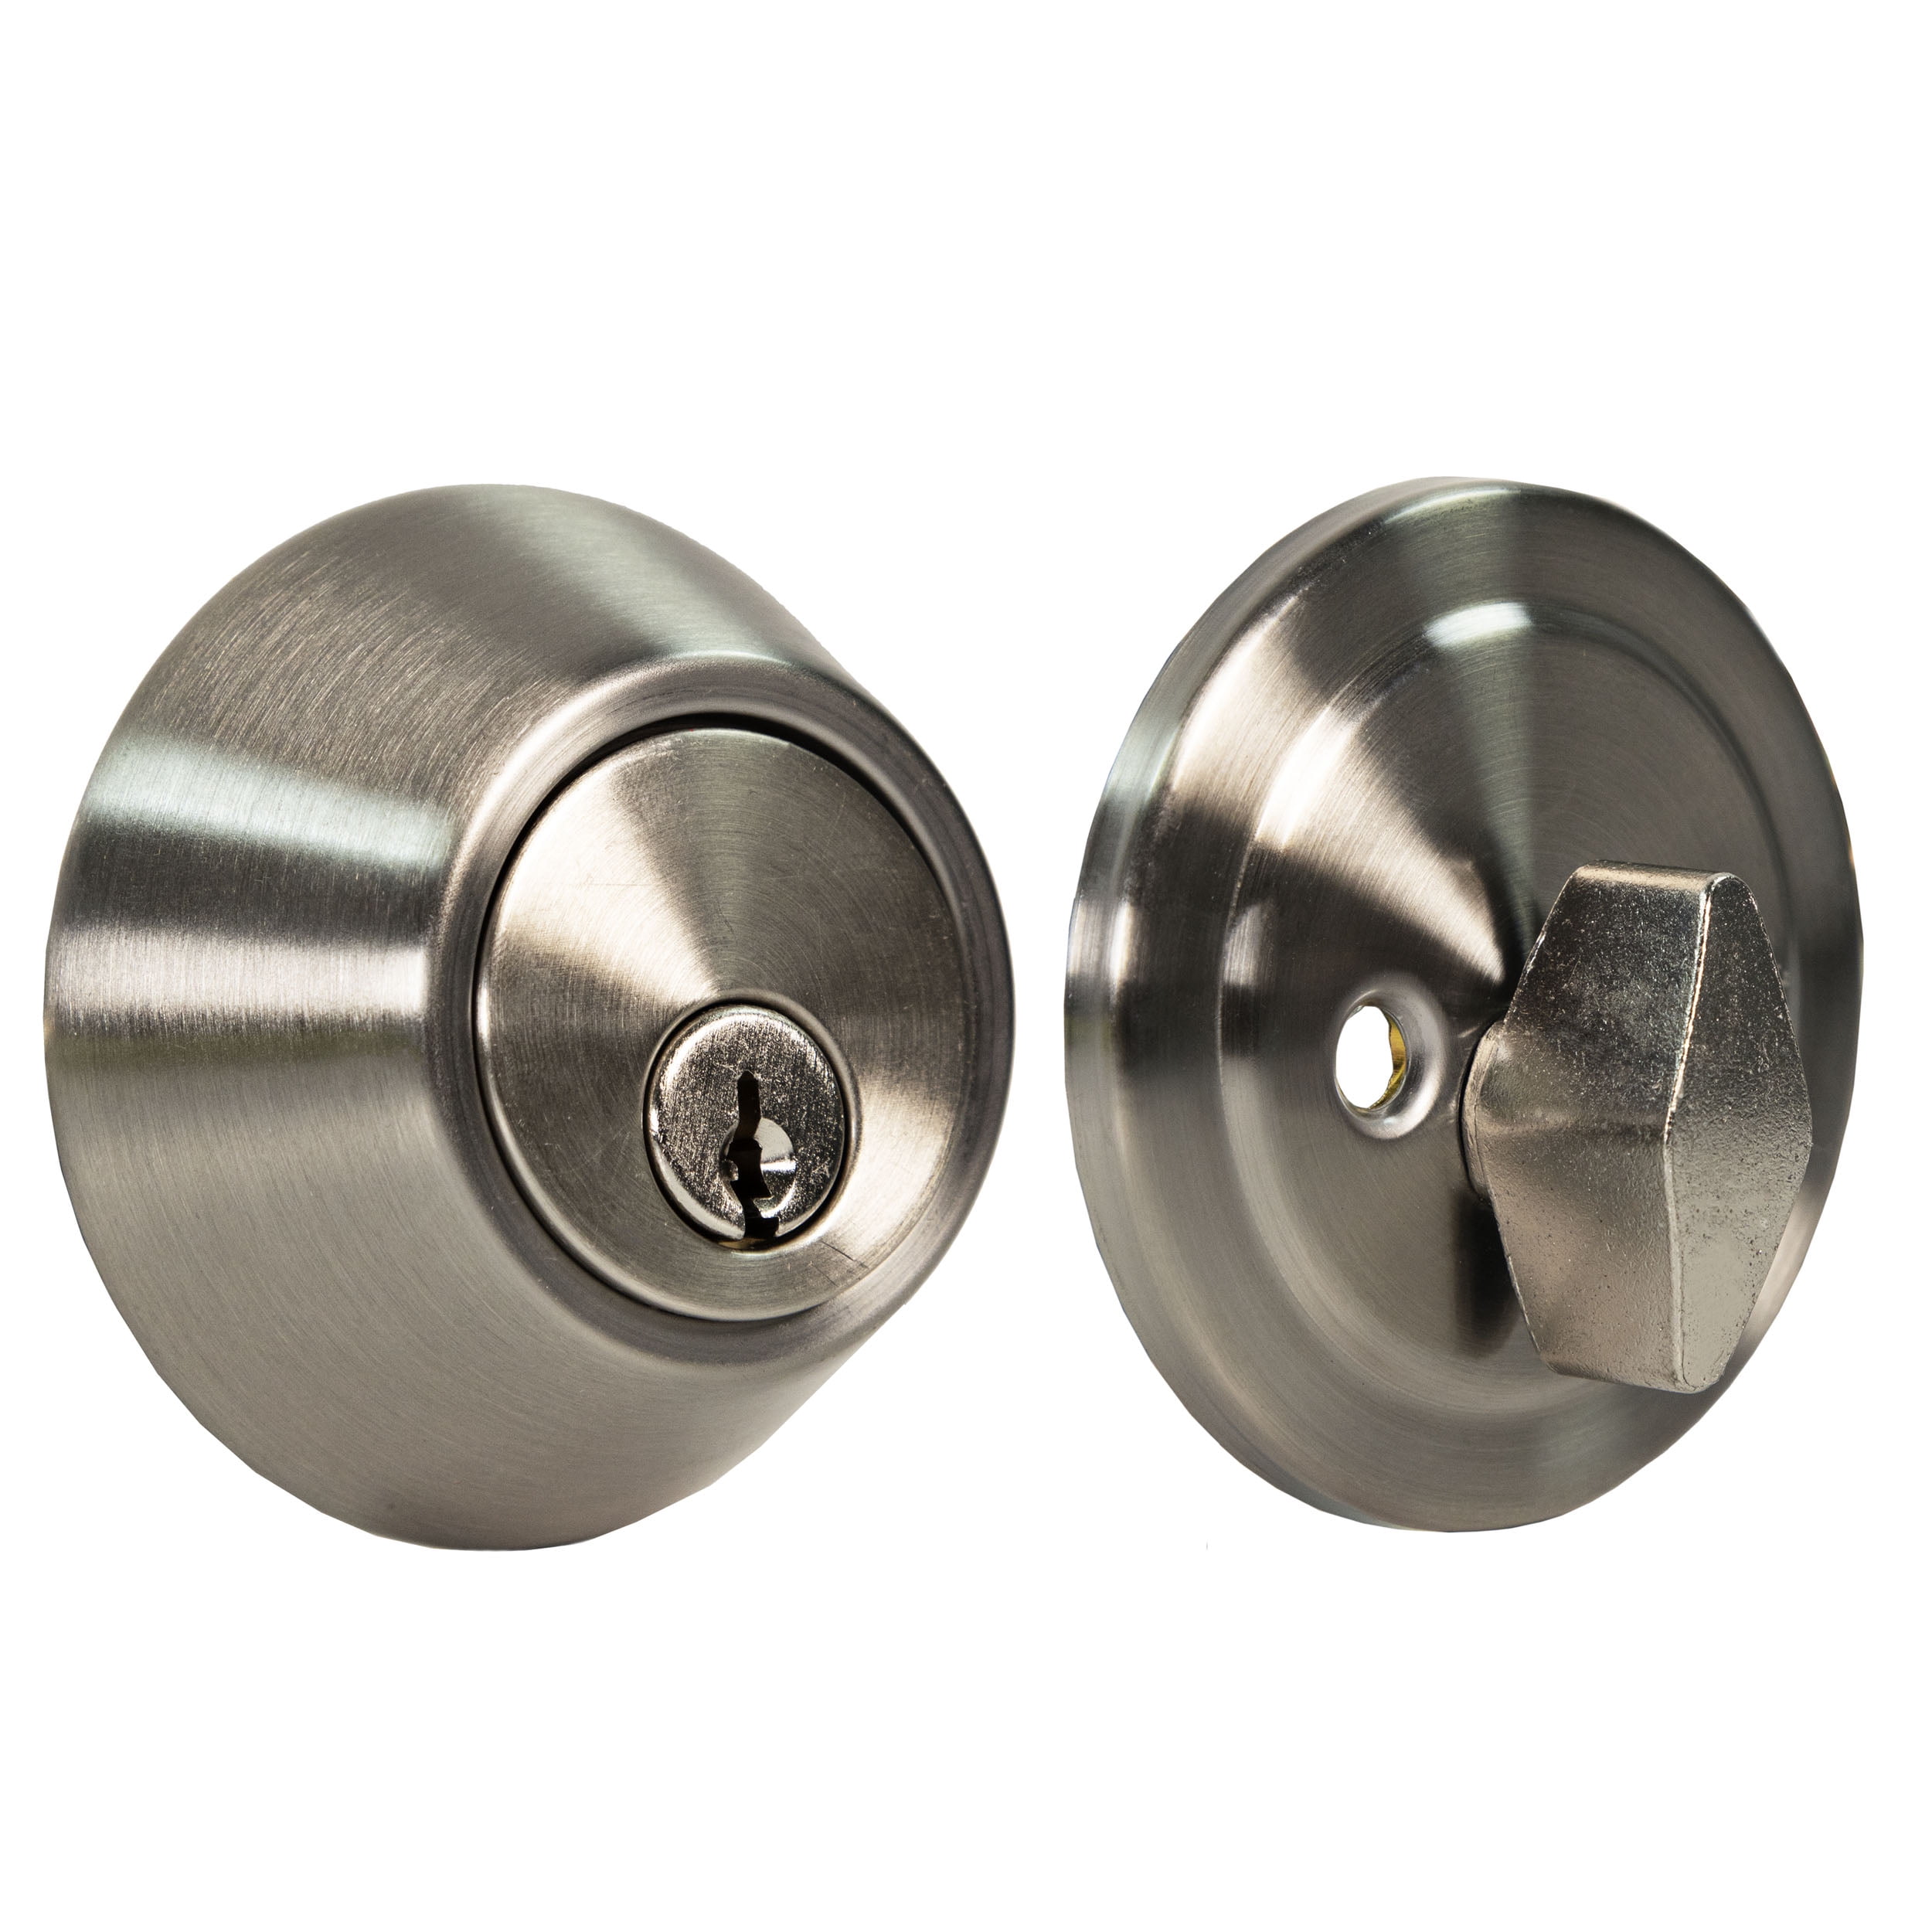
Next, it’s time to attach the interior plate:
- Align the interior plate with the deadbolt mechanism.
- Secure it in place with screws provided in the kit.
- Test the deadbolt to ensure it operates smoothly.
Step 6: Install the Strike Plate
The final step involves securing the strike plate on the door frame:
- Close the door and mark the location where the deadbolt hits the frame.
- Drill a hole in the frame to accommodate the bolt.
- Use a chisel to create a recess for the strike plate, similar to what you did for the deadbolt faceplate.
- Attach the strike plate using screws.
Testing the Installation
After completing the installation, it’s crucial to test the deadbolt:
- Lock and unlock the deadbolt several times to ensure smooth operation.
- Check the alignment of the bolt with the strike plate. Adjust if necessary.
- Confirm that the exterior key functions properly and that the locking mechanism is secure.
Common Mistakes to Avoid
During the installation process, it’s easy to make some common mistakes. Here are a few to watch out for:
- Incorrect Measurements: Double-check all measurements before drilling.
- Misalignment: Ensure that the deadbolt and strike plate are aligned correctly to avoid operational issues.
- Neglecting Safety: Always wear safety goggles and take precautions while using power tools.
Installing a deadbolt on a thick door is a straightforward process that significantly enhances your home’s security. By following the steps outlined in this guide, you can effectively install a deadbolt that meets your needs. Remember, quality locks are a vital investment in your safety, and a well-executed installation will ensure that your deadbolt functions properly for years to come.
In summary, take your time during the measuring and drilling phases, use the right tools, and avoid common pitfalls. By doing so, you will not only improve your home’s security but also gain the satisfaction of having completed a home improvement project successfully.