Patio chairs are a staple of outdoor living, providing comfort and style to your garden, deck, or patio. However, over time, the legs of these chairs can become damaged due to wear and tear, resulting in wobbliness and scratches on your floors. One simple yet effective solution to this problem is to install foot glides. This article will guide you through the process of installing and maintaining patio chair foot glides, ensuring that your outdoor furniture lasts longer and remains in good condition.
What Are Patio Chair Foot Glides?

Foot glides, also known as chair leg caps or protectors, are small accessories that fit onto the bottom of chair legs. They serve multiple purposes:
- Protect the floor from scratches and dents.
- Prevent the chair from wobbling.
- Reduce noise when moving chairs.
- Increase the longevity of the chair legs.
Foot glides come in various materials, such as plastic, rubber, and felt. Each material has its own advantages and is suitable for different types of flooring.
Types of Foot Glides
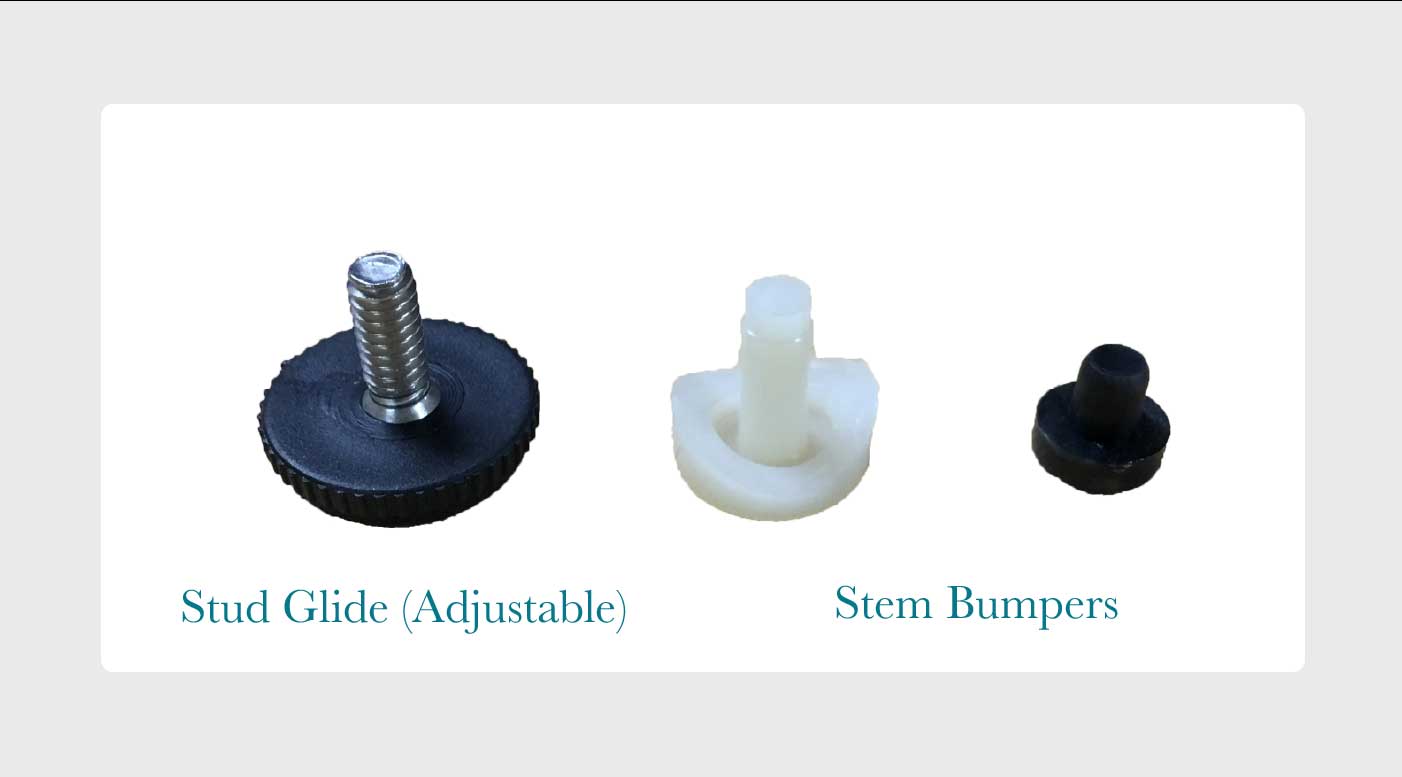
Choosing the right type of foot glide is essential for ensuring optimal performance. Here are some common types:
- Plastic Glides: Durable and affordable, these are suitable for outdoor furniture and hard surfaces.
- Rubber Glides: These provide excellent grip and are ideal for slippery surfaces like tiles or polished wood.
- Felt Glides: Soft and gentle on floors, felt glides are perfect for wooden or laminate floors, minimizing scratches.
- Metal Glides: Used primarily for heavy-duty applications, these are often found on commercial furniture.
Tools Needed for Installation
Before you start the installation process, assemble the necessary tools and materials:
- Foot glides (choose the appropriate type for your chairs and flooring)
- Rubber mallet or hammer
- Measuring tape
- Scissors (if cutting is required)
- Cleaning cloth
- Adhesive (if your glides require it)
Step-by-Step Guide to Installing Patio Chair Foot Glides

Installing foot glides is a straightforward process. Follow these steps to ensure a secure fit:
Step 1: Measure the Chair Legs

Use a measuring tape to determine the diameter of the chair legs. This measurement will guide you in choosing the right size of foot glides.
Step 2: Clean the Chair Legs
Before installation, clean the bottom of the chair legs with a cloth to remove dust and debris. This ensures a better grip for the foot glides.
Step 3: Choose the Right Foot Glides
Select foot glides that fit securely onto the chair legs. If you’re using adhesive glides, make sure they are compatible with the material of the chair legs.
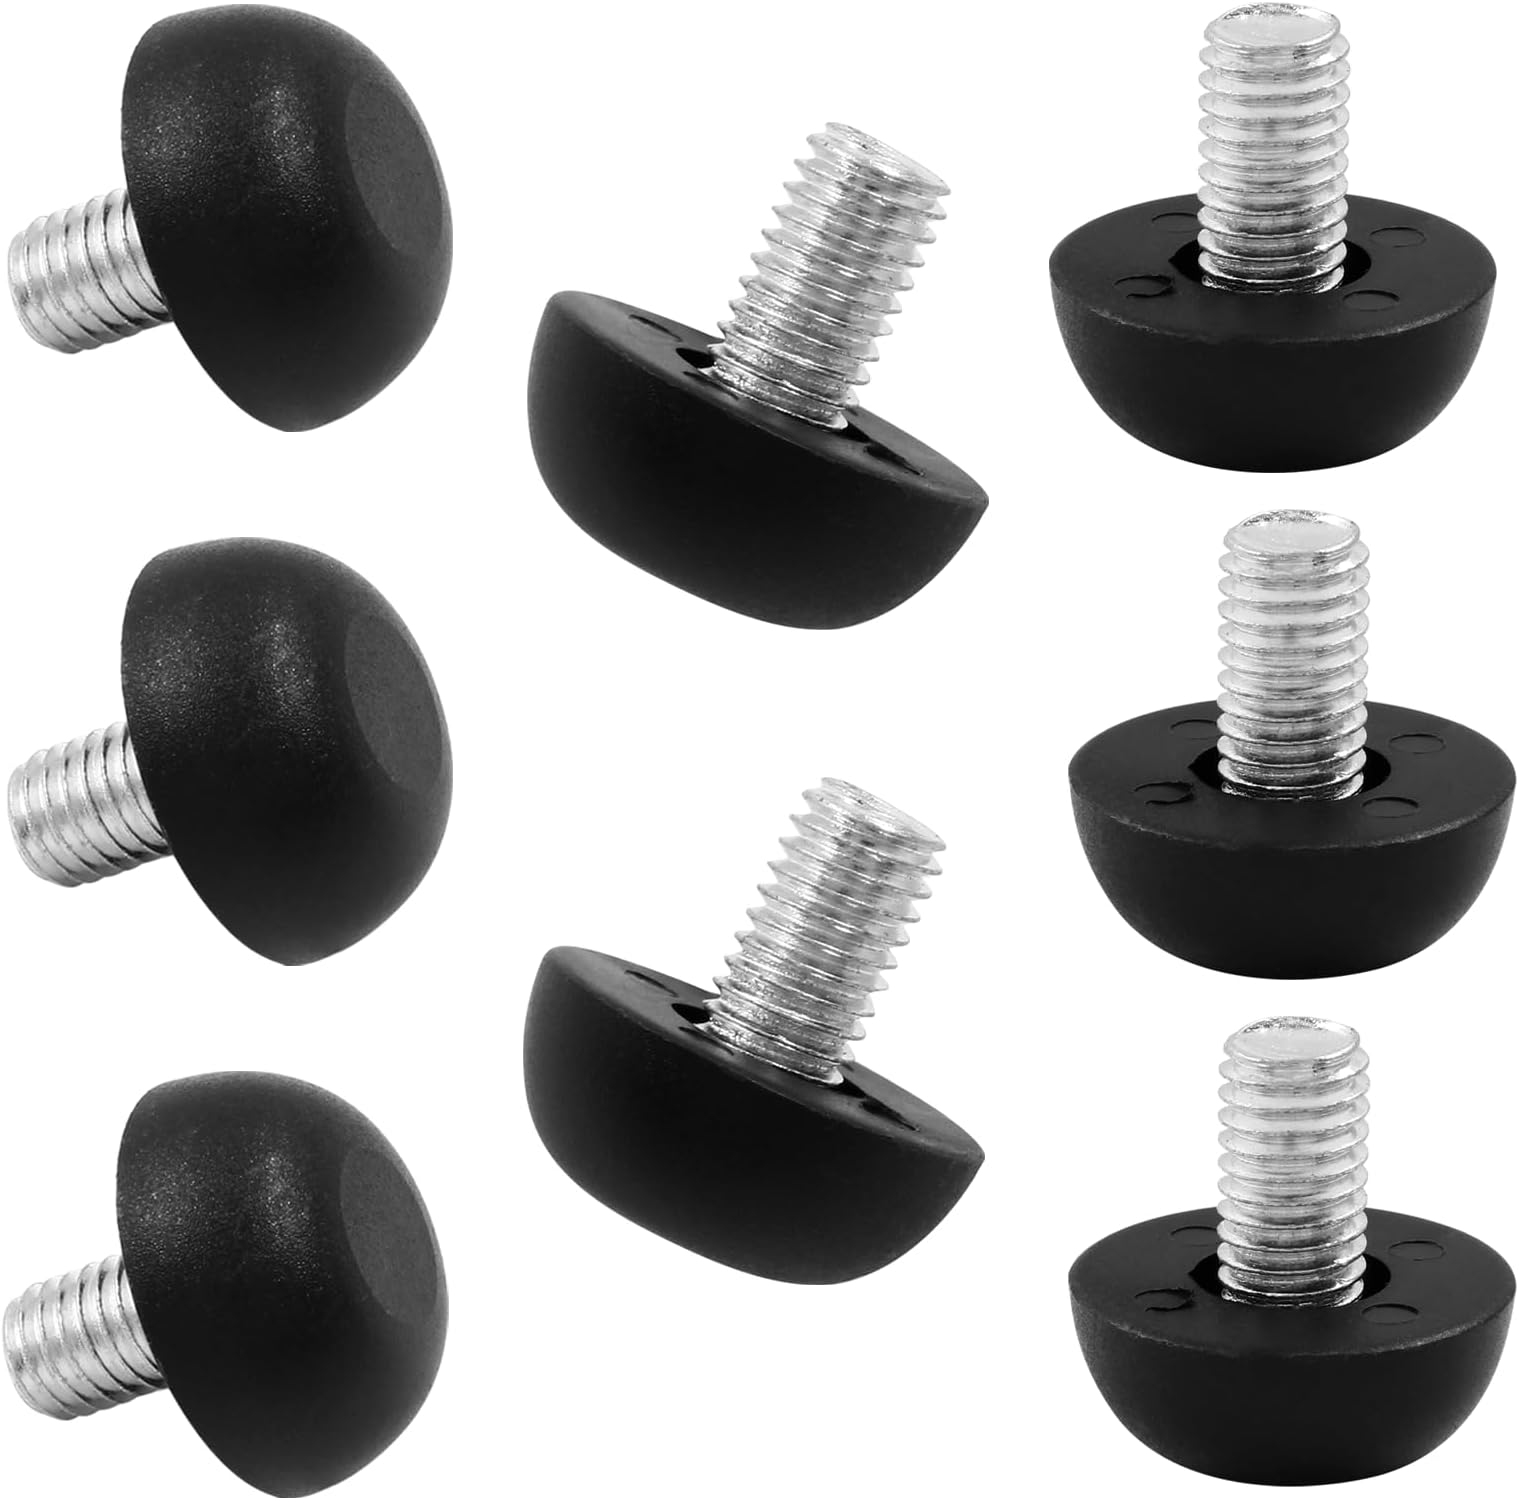
Step 4: Install the Foot Glides
Depending on the type of foot glides, the installation may vary:
- Slip-on Glides: Simply push the glide onto the bottom of the chair leg until it fits snugly.
- Adhesive Glides: Apply adhesive to the bottom of the glide and press it firmly onto the chair leg. Hold it in place for a few seconds to ensure it sticks.
- Hammer-in Glides: Align the glide with the chair leg and gently tap it in using a rubber mallet until it is secure.
Step 5: Check for Stability
After installation, check each chair for stability. Ensure that the glides are evenly installed and that the chair doesn’t wobble.
Maintaining Patio Chair Foot Glides
Proper maintenance of foot glides not only extends their life but also ensures optimal performance. Here are some maintenance tips:
Regular Inspection
Periodically check the foot glides for wear and tear. Look for signs of cracking, peeling, or loosening. If you notice any issues, replace the glides immediately to prevent damage to the chair or floor.
Cleaning
Keep the foot glides clean to maintain their effectiveness. Use a damp cloth to wipe them down regularly. For tough stains, a mild soap solution can be used. Ensure that they are thoroughly dried afterward to prevent mold or mildew.
Seasonal Adjustments
If you live in an area with extreme weather conditions, consider removing the foot glides during the off-season. This prevents them from degrading due to exposure to heat, cold, or moisture.
Case Studies: Success Stories of Foot Glide Installation
Many homeowners have experienced significant benefits from installing foot glides on their patio chairs. Here are a couple of examples:
Case Study 1: The Johnson Family
The Johnson family noticed that their patio chairs were leaving scratches on their wooden deck. After installing felt foot glides, they saw a remarkable decrease in damage to the flooring. Additionally, moving their chairs became a quieter and more pleasant experience.
Case Study 2: The Smiths’ Restaurant
A local restaurant faced complaints about noise from moving chairs, which detracted from the dining experience. They installed rubber foot glides on all their patio furniture. Not only did this reduce noise, but it also protected their tiled patio from damage, resulting in fewer repair costs over time.
Statistics on Floor Damage Prevention
According to a study conducted by the National Floor Safety Institute, nearly 80% of homeowners report having to repair scratches and damage caused by furniture movement. Installing protective foot glides can reduce this risk significantly, saving homeowners money on repairs. Furthermore, a survey revealed that 90% of users found glides improved the longevity of their furniture.
Installing and maintaining patio chair foot glides is a simple yet effective way to enhance the longevity and aesthetic appeal of your outdoor furniture. By protecting your floors from scratches, reducing noise, and preventing wobbliness, foot glides prove to be a valuable investment.
In summary, the right type of foot glides, proper installation techniques, and regular maintenance can drastically improve your outdoor living experience. As demonstrated by various case studies and statistics, the benefits are clear: not only do foot glides protect your investment, but they also enhance comfort and enjoyment in your outdoor spaces. Embrace this simple solution to keep your patio chairs in top shape for years to come!