Stained glass lamps are not only functional pieces of lighting but also stunning works of art that can enhance the ambiance of any room. Creating your own stained glass table lamp can be an enjoyable and fulfilling project, allowing you to express your creativity while also developing your skills in glass crafting. In this article, we will explore essential tips and techniques for making your DIY stained glass table lamp, including tools, materials, and design considerations.
Understanding Stained Glass: A Brief Overview

Stained glass has a rich history, dating back to ancient times. Today, it is often associated with churches and historical buildings, but it has gained popularity as a medium for modern art and home décor. The vibrant colors and intricate designs of stained glass make it an excellent choice for table lamps, allowing them to serve as both light sources and decorative elements.
Gathering Your Supplies
Before diving into your DIY project, it’s crucial to gather all necessary supplies. Here’s a list of essential tools and materials you’ll need:
- Glass Sheets: Choose colors and textures that appeal to you. Common types include opalescent, transparent, and patterned glass.
- Glass Cutter: A manual or electric glass cutter will help you shape your glass pieces accurately.
- Glazing Compound: This will hold your glass pieces together; copper foil and lead came are the most popular options.
- Soldering Iron: A soldering iron is essential for fusing your glass pieces together with solder.
- Work Surface: A sturdy table or workbench will provide a safe and stable surface for your project.
- Safety Gear: Safety glasses and gloves are crucial to protect yourself while working with glass.
Designing Your Lamp

The design phase is one of the most exciting parts of creating a stained glass lamp. Here are some tips to help you create a stunning design:
- Sketch Your Idea: Begin by sketching your design on paper. Consider the shape of the lamp and the overall theme or motif you want to portray.
- Consider Light Flow: Think about how light will flow through your design. Use lighter colors to enhance brightness and darker colors for contrast.
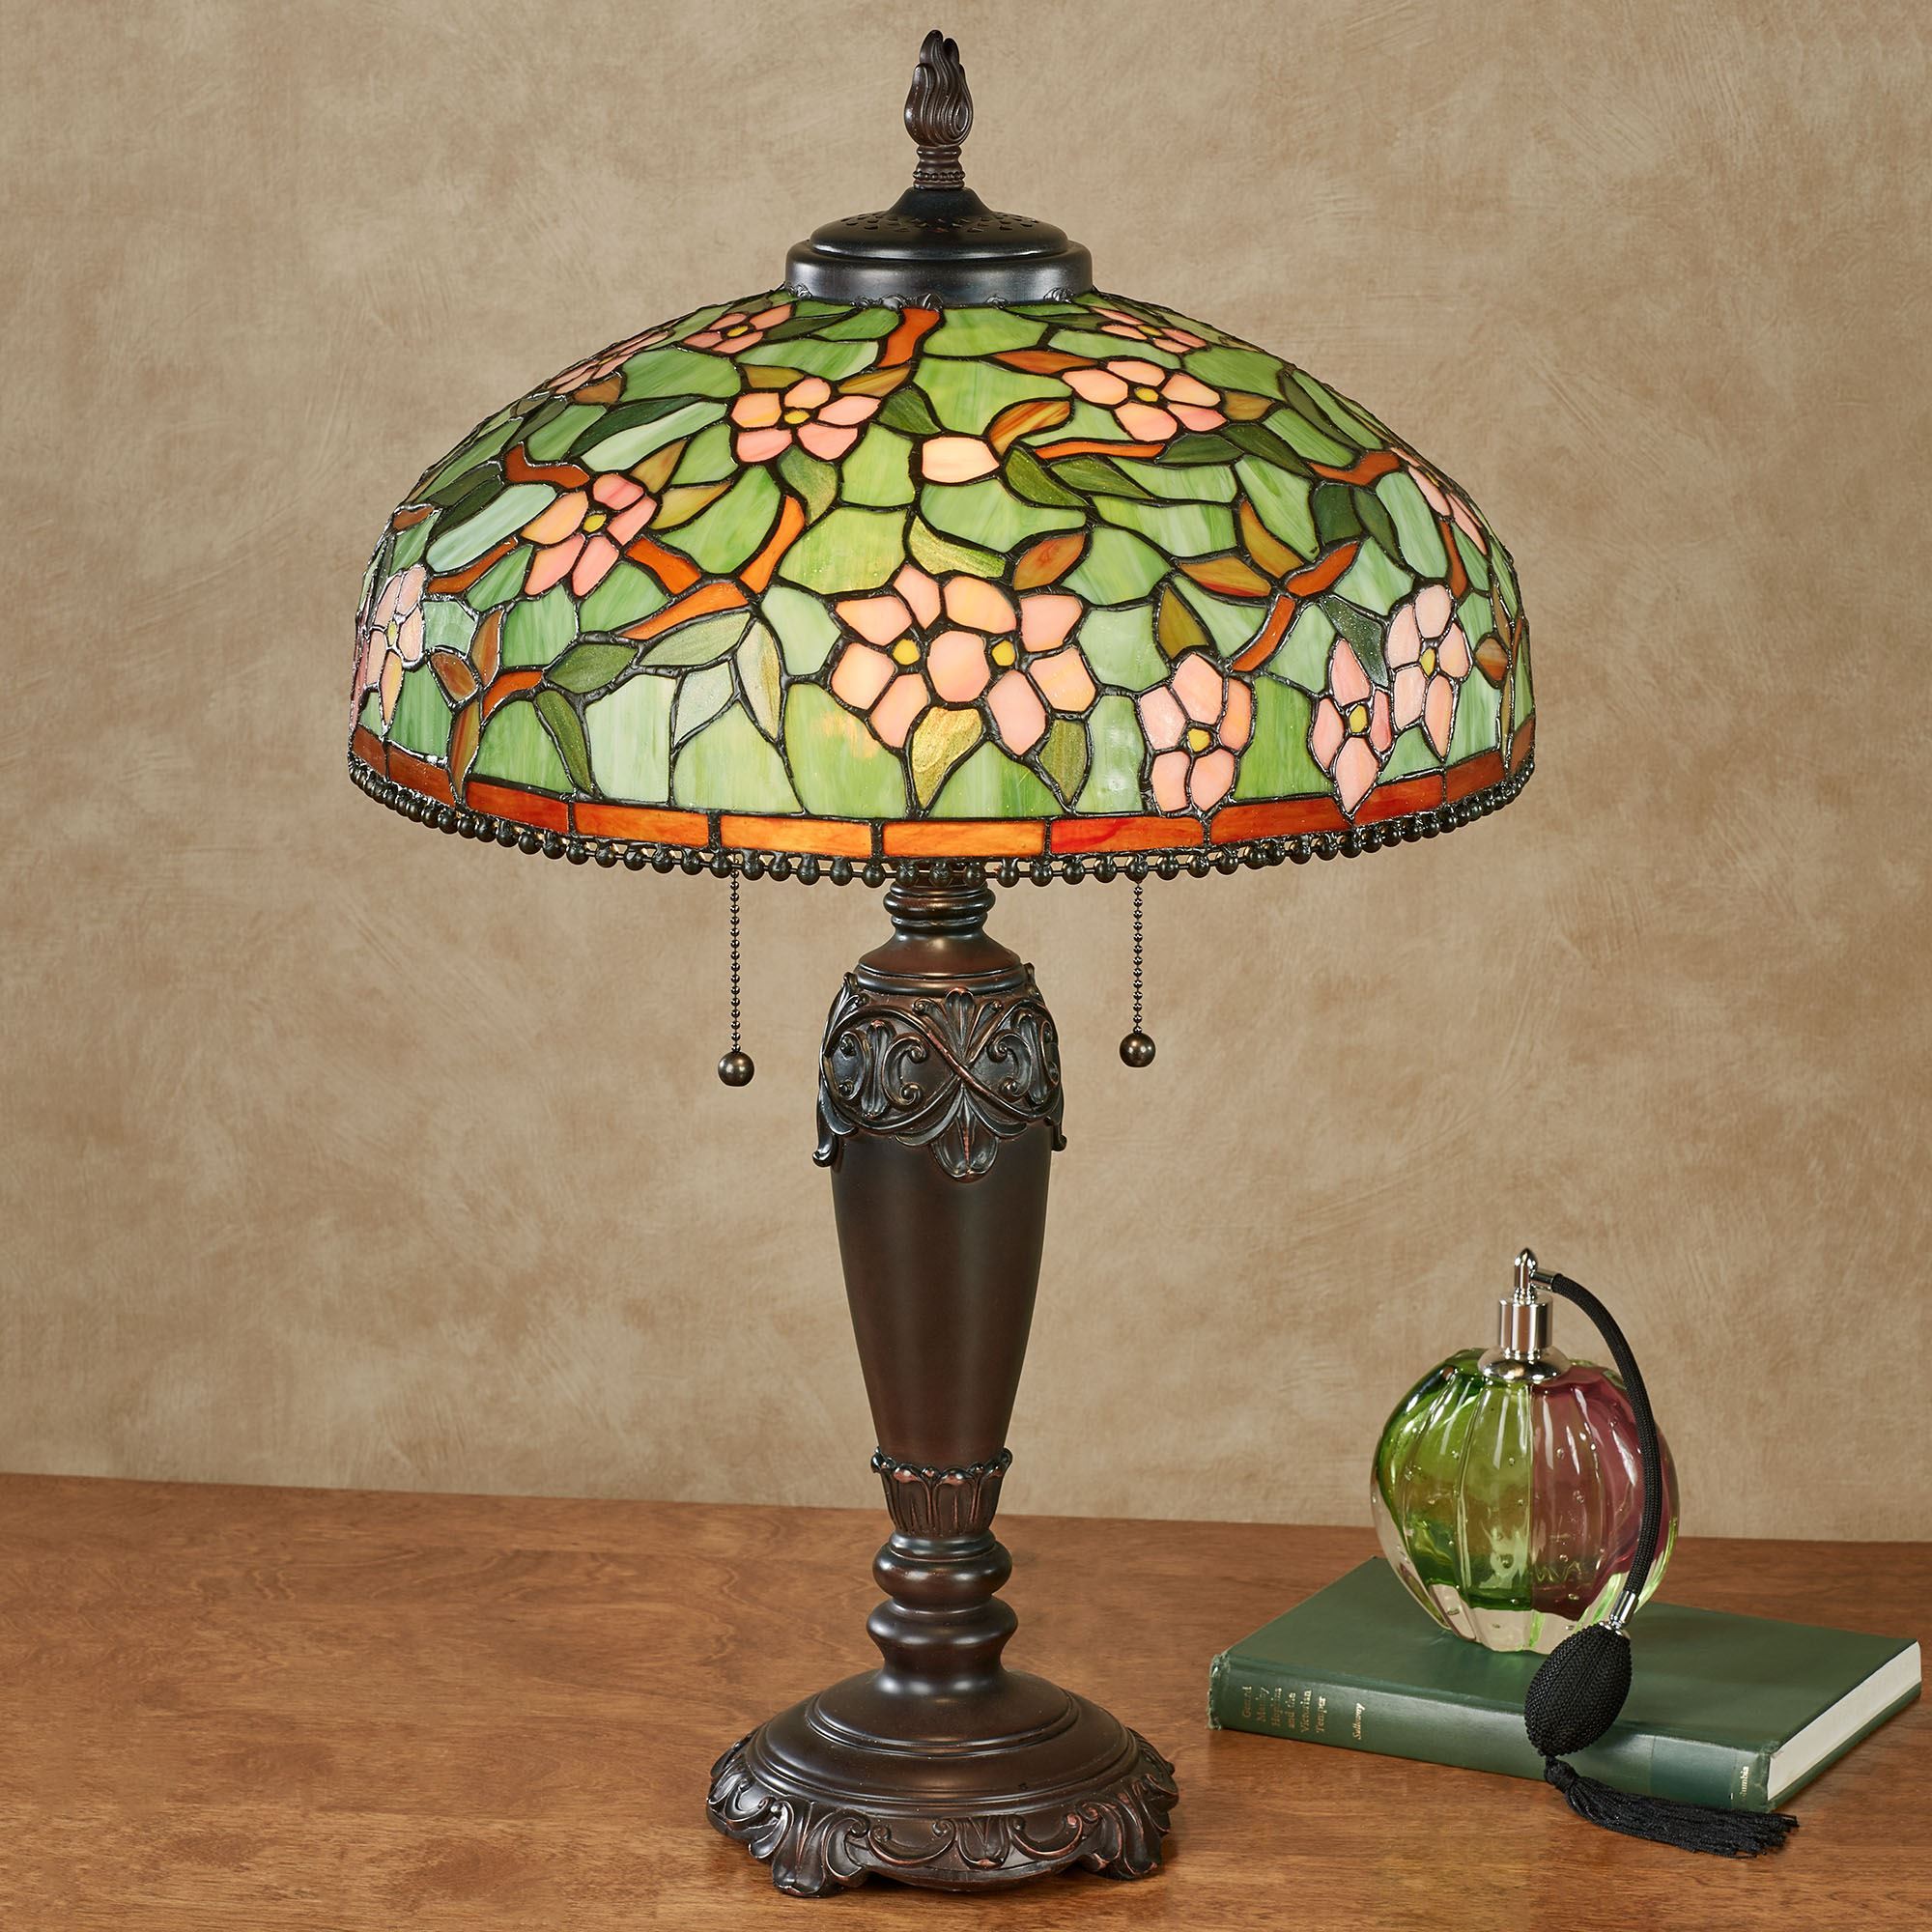
- Incorporate Patterns: Geometric patterns, floral designs, or abstract shapes can add interest to your lamp. You can also take inspiration from existing stained glass designs.
- Plan for Size: Ensure your design fits the size of the lamp base and will be proportionate when completed.
Cutting and Shaping Glass
Once your design is finalized, it’s time to cut and shape your glass pieces. Follow these steps for accurate cutting:
- Measure Twice, Cut Once: Accurate measurements are crucial. Use a ruler and a marker to outline your cuts on the glass.
- Score the Glass: Use your glass cutter to score along the lines you’ve drawn. Apply even pressure for a clean cut.
- Break the Glass: Gently snap the scored glass along the line using breaking pliers or your hands, ensuring to wear safety gear.
- Smooth the Edges: Use a glass grinder or sandpaper to smooth any sharp edges, which can be a safety hazard.
Assembling Your Stained Glass Lamp
With your glass pieces cut and shaped, it’s time to assemble your lamp. This is where your design really comes to life:
- Lay Out Your Pieces: Arrange your glass pieces according to your design on a flat surface to see how they fit together.
- Apply Copper Foil or Lead Came: For copper foil, apply a strip around the edges of each glass piece. For lead came, fit the pieces into the lead channel.
- Soldering the Pieces: Use a soldering iron to melt solder at the seams where the glass pieces meet. Work carefully and ensure each joint is secure.
- Clean Your Lamp: After soldering, clean off any residue using a glass cleaner or a mixture of vinegar and water.
Creating the Lamp Shade

The lamp shade is a critical part of your stained glass lamp, affecting both aesthetics and functionality. Here are some tips for crafting it:
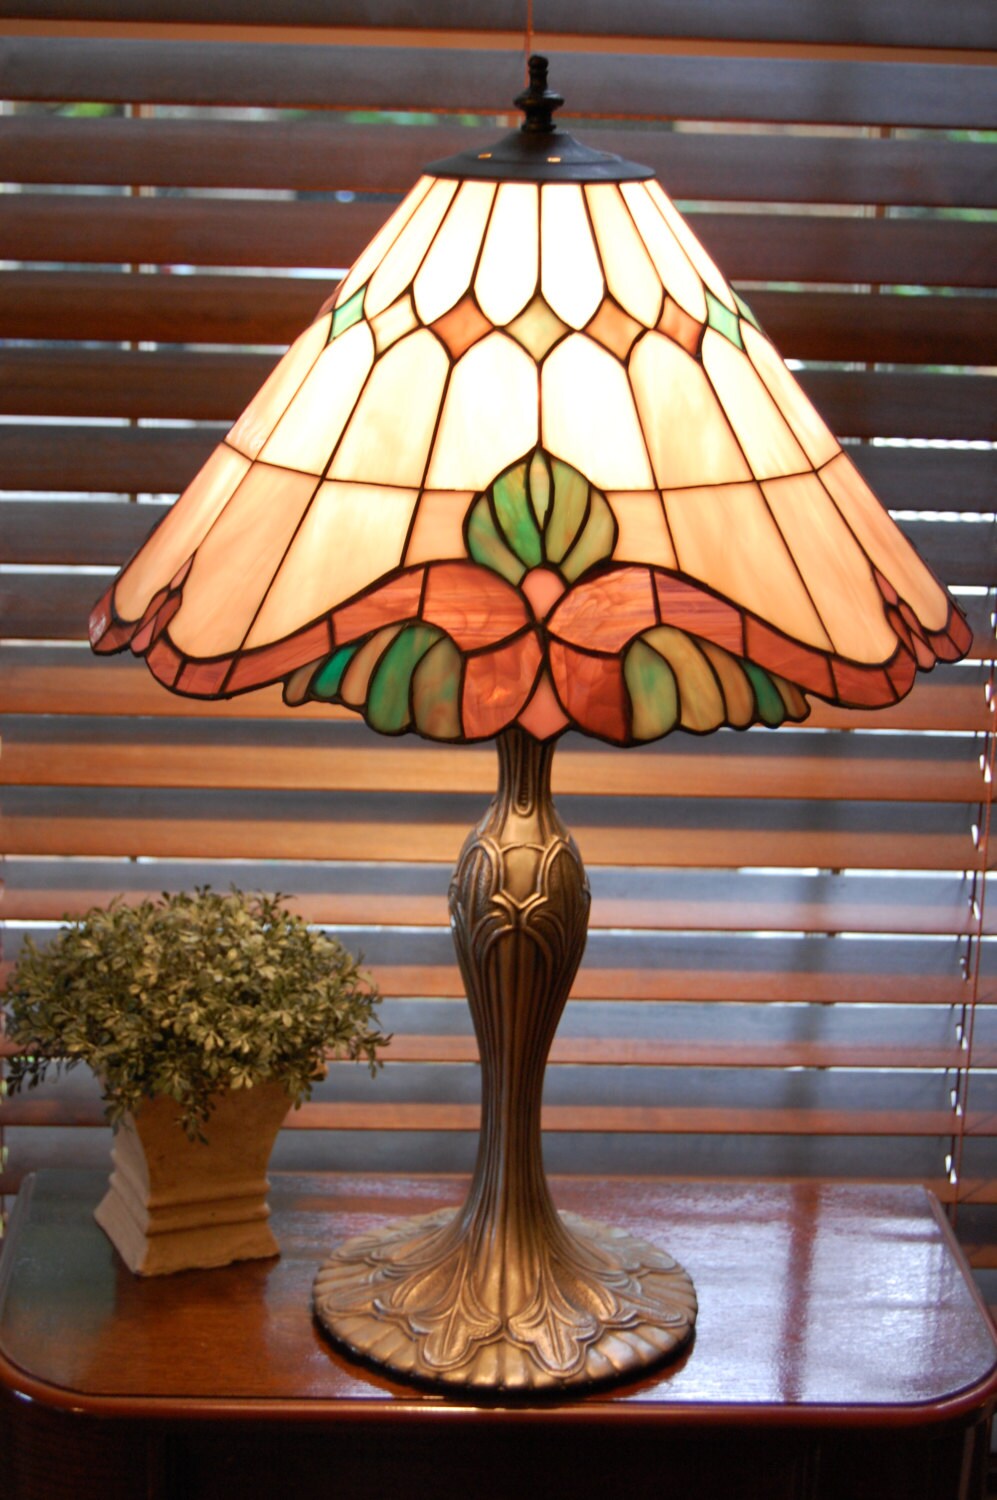
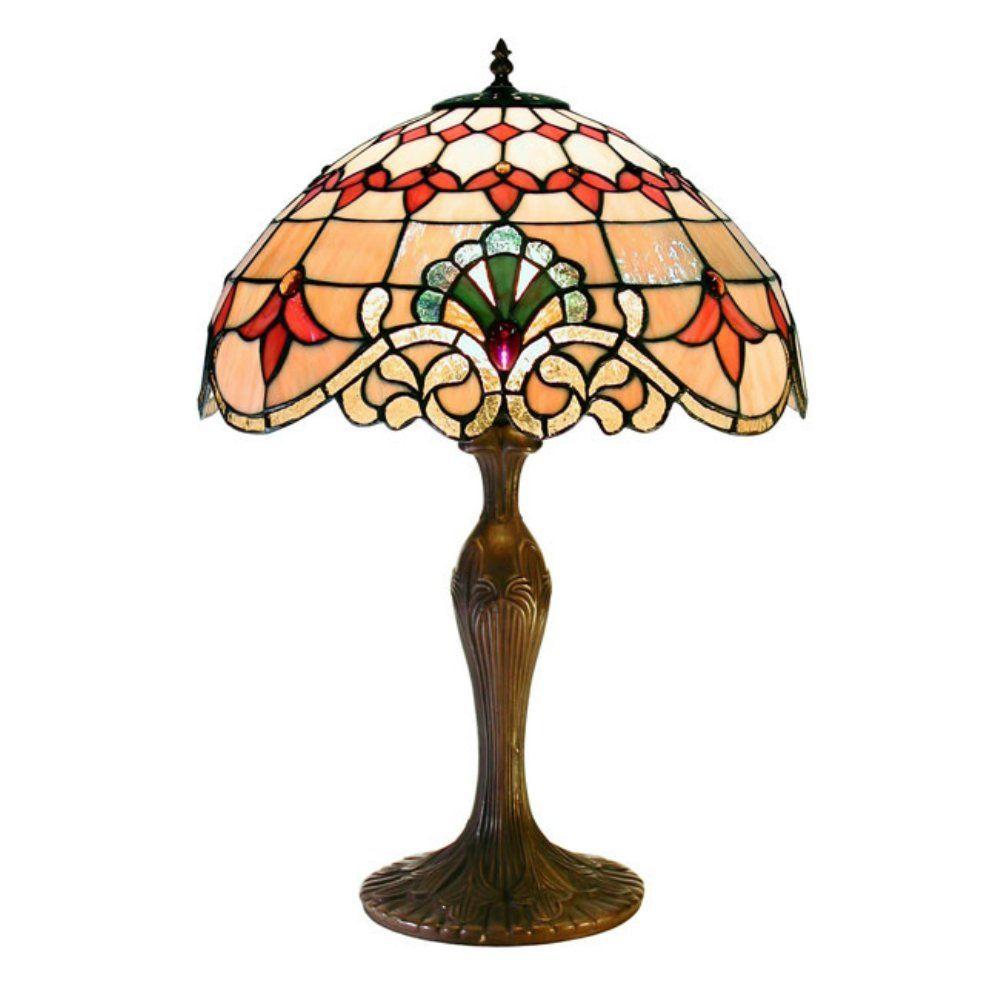
- Choose the Right Shape: Consider different shapes for your lampshade, such as cylindrical, square, or dome-shaped, based on your design.
- Use a Template: Create a template for your lampshade to ensure uniformity and accurate dimensions.
- Secure the Shade to a Frame: A metal or wooden frame can provide additional support for your shade and make it easier to attach it to the lamp base.
Finishing Touches: Wiring and Assembly
Once your lamp shade is complete, it’s time to wire your lamp. This step is crucial for both safety and functionality:
- Choose the Right Socket: Select a light socket that matches the wattage of your bulb and fits your lamp design.
- Wire Safely: Follow manufacturer instructions for wiring, ensuring all connections are secure and insulated.
- Test Your Lamp: Before finalizing your project, test the lamp to ensure it works correctly and safely.
Maintaining Your Stained Glass Lamp
Once your lamp is complete, proper maintenance will ensure its longevity:
- Regular Cleaning: Dust and clean your lamp regularly to maintain its beauty. Use a soft cloth and a gentle glass cleaner.
- Check for Damage: Periodically inspect the lamp for any cracks or loose pieces and make necessary repairs immediately.
Conclusion: Embrace Your Creativity
Creating a DIY stained glass table lamp can be a rewarding project that offers both a sense of accomplishment and a beautiful addition to your home décor. From gathering materials to designing and constructing your lamp, each step allows you to express your creativity and hone your craftsmanship. Remember to take your time, follow safety guidelines, and most importantly, enjoy the process. With practice and patience, you can create a stunning piece that showcases your artistic flair and brightens your space.