Floating frames have become a prominent choice for displaying artwork, photographs, or cherished memories. A 10 x 10 floating frame offers a unique, contemporary aesthetic that enhances the visual impact of your pieces. In this article, we’ll explore various DIY projects to customize your 10 x 10 floating frame, allowing you to create a personalized display that reflects your style and creativity.
The Allure of Floating Frames
Floating frames are designed to give the illusion that the artwork is suspended between two panes of glass. This design not only adds depth but also enhances the overall presentation. Here are a few reasons why floating frames are popular:
- Modern Aesthetic: The clean lines and transparent design of floating frames suit various interior styles.
- Versatility: They can be used for anything from photographs to textiles and even artwork.
- Easy to Change: Changing the displayed piece is simple, making it easy to refresh your decor.
Gathering Your Materials

Before diving into your DIY projects, it’s essential to gather the right materials. For customizing your 10 x 10 floating frame, consider the following items:
- 10 x 10 floating frame
- Art or photo prints
- Colored paper or fabric for background
- Decorative elements (e.g., dried flowers, leaves, or fabric swatches)
- Adhesives (e.g., double-sided tape, glue dots)
- Scissors or a craft knife
- Ruler and pencil
- Optional: Paint or markers for additional customization
Creative Customization Ideas

Once you have your materials, it’s time to get creative! Here are some exciting DIY projects to customize your 10 x 10 floating frame:
1. Background Art Layering
One of the simplest ways to customize your frame is by adding a colored or patterned background behind your artwork. This technique can enhance the overall presentation and make your piece stand out.
- Select a Background: Choose a color or pattern that complements your artwork. You can use colored paper, fabric, or even scrapbook paper.
- Measure and Cut: Use a ruler to measure the interior dimensions of the frame, then cut your background material to size.
- Layer Your Artwork: Position your artwork on top of the background and secure it using double-sided tape or glue dots.
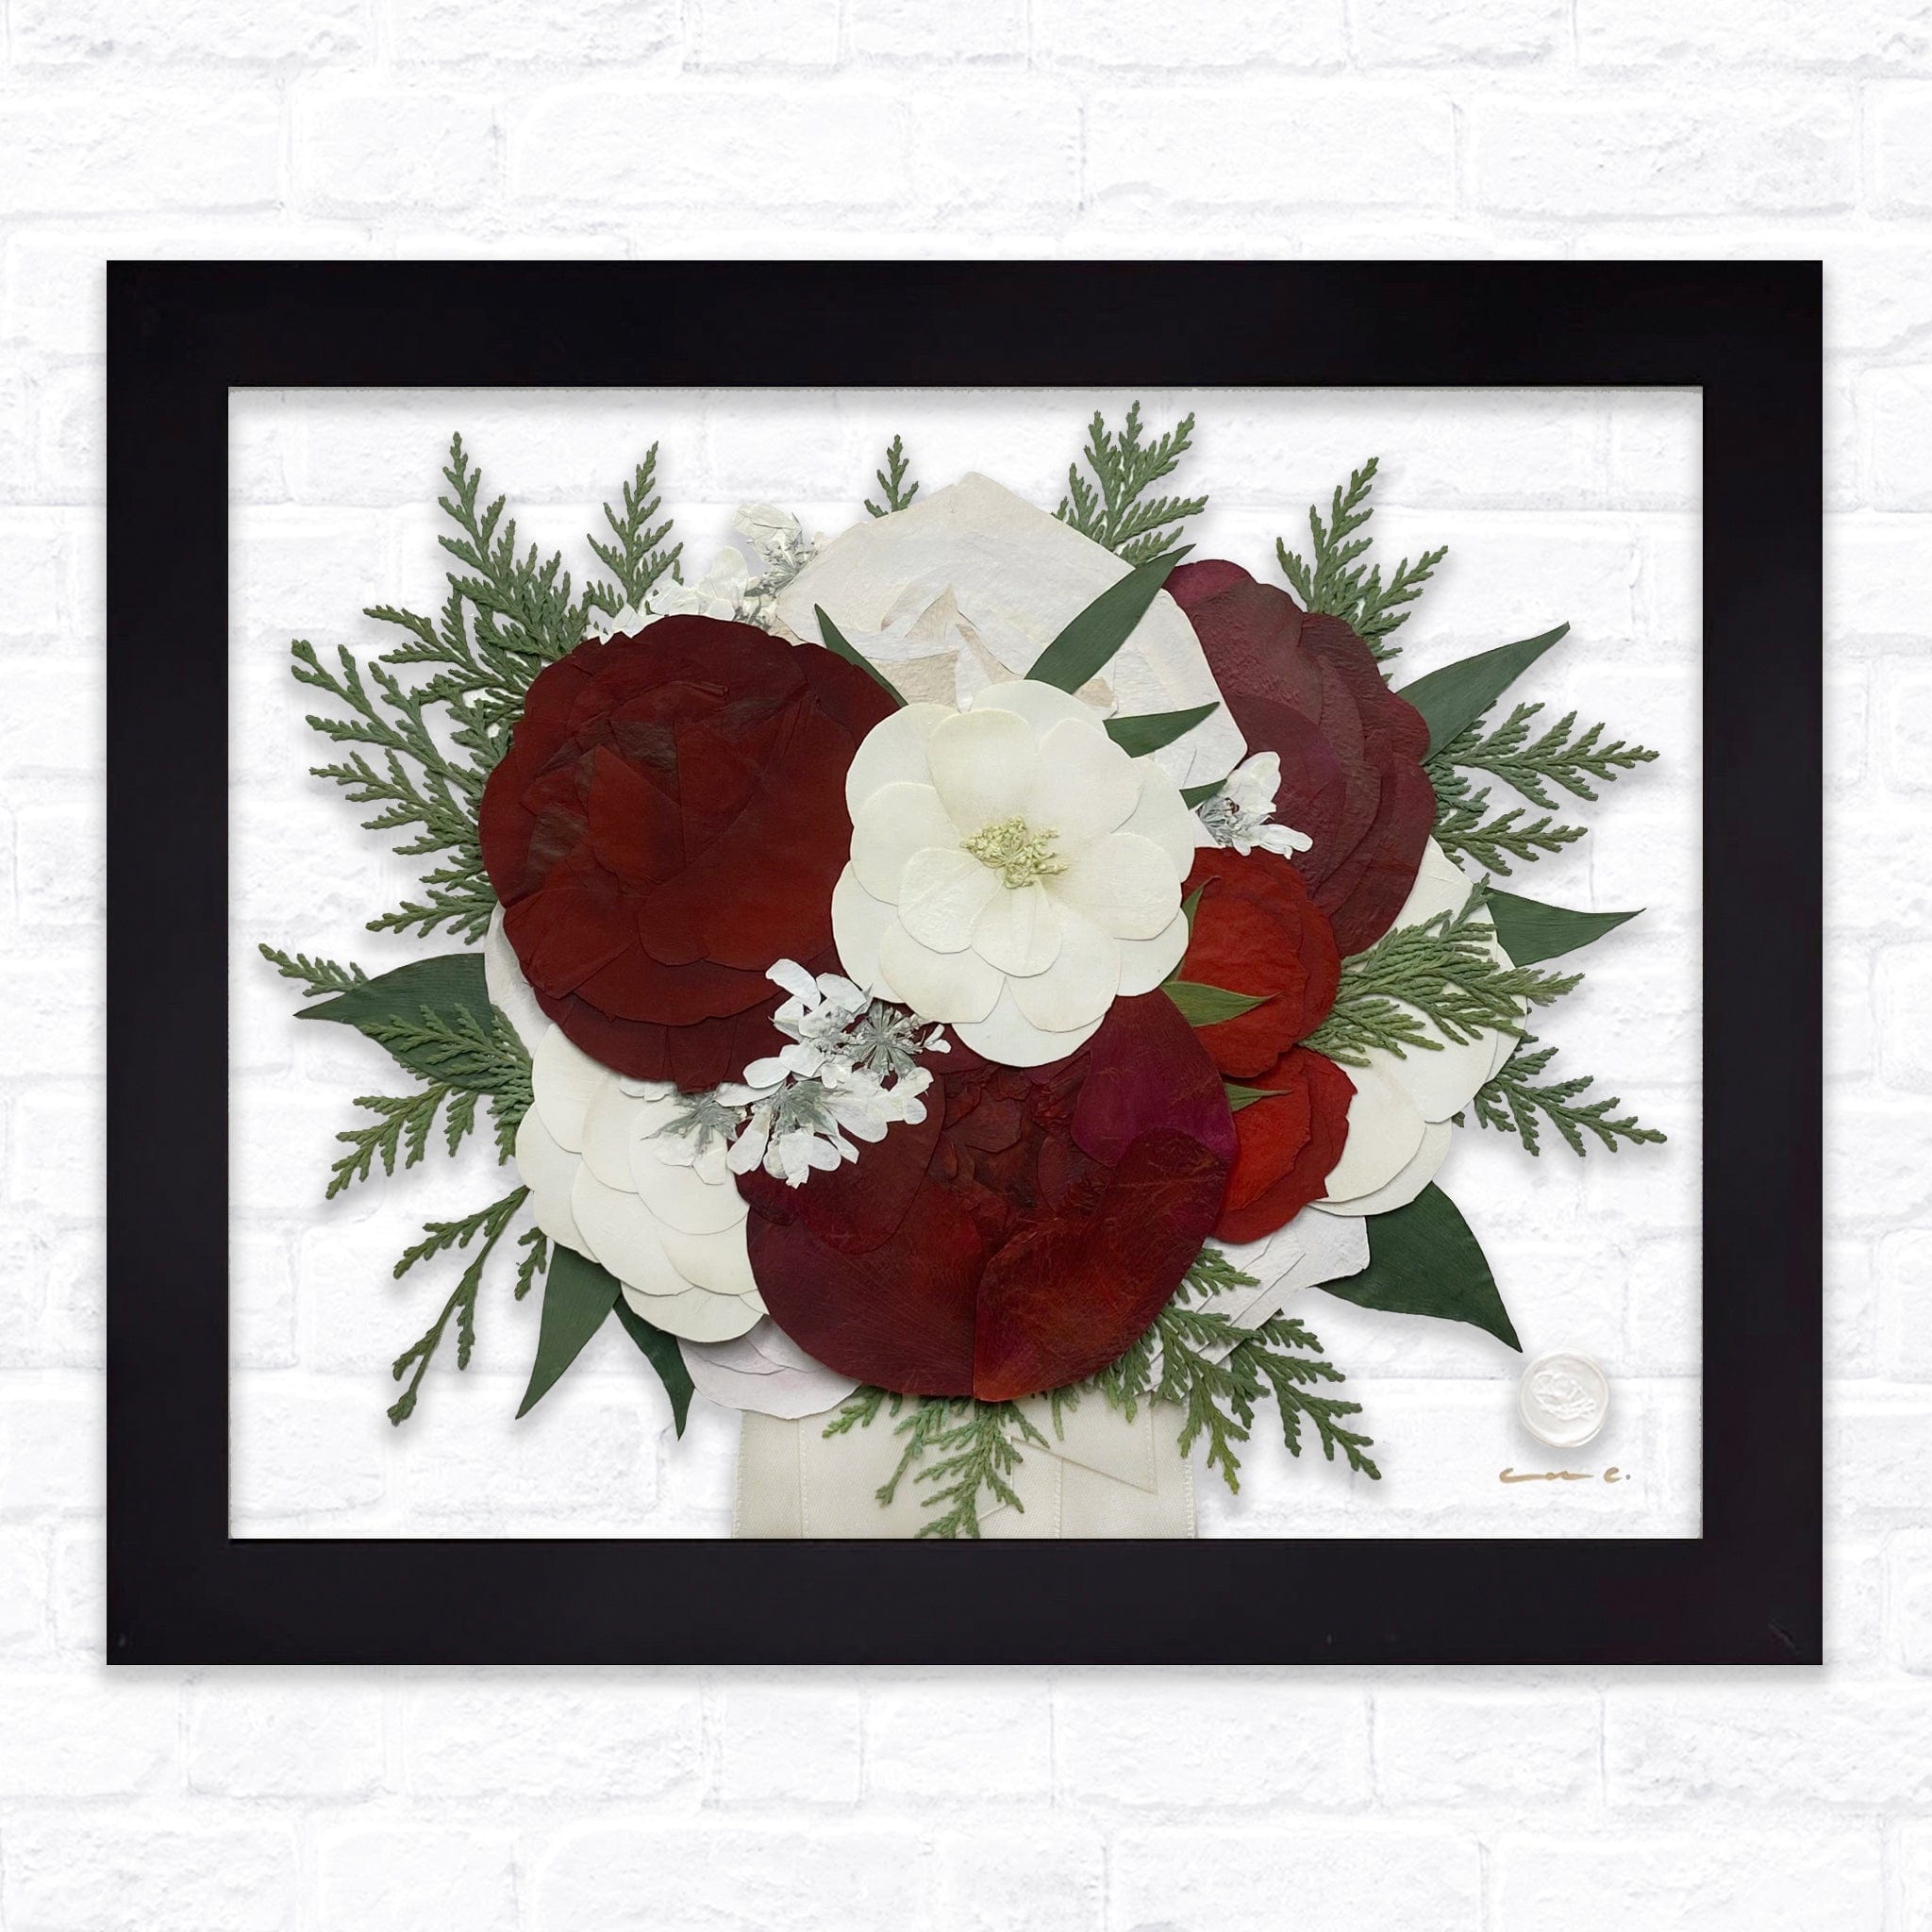
2. Botanical Display
Incorporating natural elements into your floating frame can create a stunning and organic look. Dried flowers, leaves, or pressed plants can be used as a focal point.
- Choose Your Botanicals: Select small, flat botanicals that fit well within the frame.
- Press and Dry: If you’re using fresh plants, press them between heavy books for a few weeks to dry.
- Arrange and Secure: Once dried, arrange the botanicals on a background and secure them in place.
3. Personalized Quote Art

Transform your floating frame into a piece of motivational wall art by featuring your favorite quote or mantra. This project allows for a high degree of personalization.
- Choose a Quote: Select a meaningful quote that resonates with you.
- Design Your Layout: Use a design software or hand-letter your quote on colored paper.
- Add Decorative Elements: Include embellishments like stickers or drawings to enhance your design.
4. Seasonal Themes
Refresh your floating frame with the changing seasons. You can easily swap out the displayed piece to reflect seasonal themes or holidays.
- Spring/Summer: Use floral designs, beach scenes, or vibrant colors.
- Fall: Incorporate autumn leaves, warm tones, and harvest themes.
- Winter: Display winter landscapes, snowflakes, or holiday decorations.
Case Studies: Successful DIY Floating Frame Projects
To illustrate the impact of customizing floating frames, let’s look at a couple of case studies from DIY enthusiasts.
Case Study 1: The Minimalist Approach
Jane, a graphic designer, opted for a minimalist approach to her 10 x 10 floating frame. She selected a simple black and white color scheme, featuring a monochrome print of her favorite cityscape against a white background. This choice not only complemented her modern decor but also drew attention to the artwork itself. Jane reports that this simple customization has sparked numerous conversations among her guests.
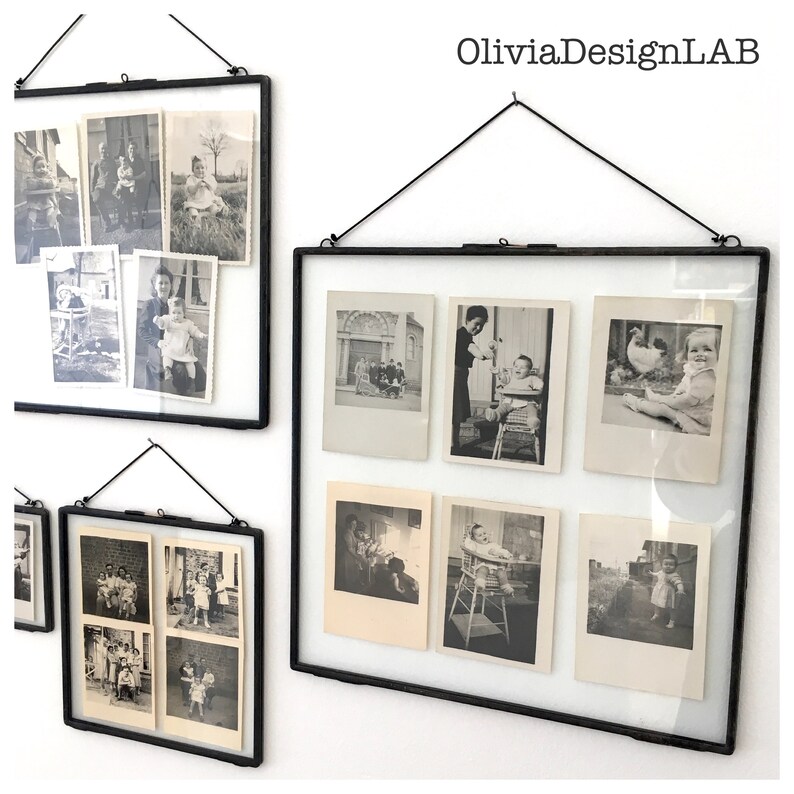
Case Study 2: The Family Memory Frame
Mike and Sarah, a couple with children, used their floating frame to create a family memory display. They included a collage of their children’s artwork, along with handwritten notes about each piece. This customization not only personalized their space but also served as a cherished keepsake that captured their children’s creative journey. The project fostered creativity in their home and encouraged their kids to express themselves artistically.
Tips for Successful DIY Customizations

Here are some key tips to ensure the success of your DIY floating frame projects:
- Plan Your Design: Sketch your ideas before starting to visualize the end product.
- Use Quality Materials: Invest in good quality frames and materials for a polished finish.
- Test Arrangements: Lay out elements before securing them to find the best arrangement.
- Embrace Imperfection: Don’t worry about making it perfect; the beauty of DIY is in its uniqueness!
Customizing your 10 x 10 floating frame allows you to express your creativity and add a personal touch to your decor. Whether you opt for background layering, botanical displays, or motivational quotes, the possibilities are endless. By following the tips and inspiration provided in this article, you can create a stunning piece that not only enhances your space but also reflects your personality. Remember, the journey of customization is just as important as the final product, so enjoy the process of creating something uniquely yours!