
The mid-century modern aesthetic has captivated design enthusiasts and collectors alike for decades, thanks to its clean lines, organic forms, and functional beauty. Among the gems of this movement are walnut desks that have aged gracefully. However, even the most well-crafted pieces may require a little love and attention over the years. Whether your desk is showing signs of wear or you simply want to bring back its original luster, this guide offers valuable restoration tips to help you revive your mid-century modern walnut desk.
Understanding Mid-Century Modern Design
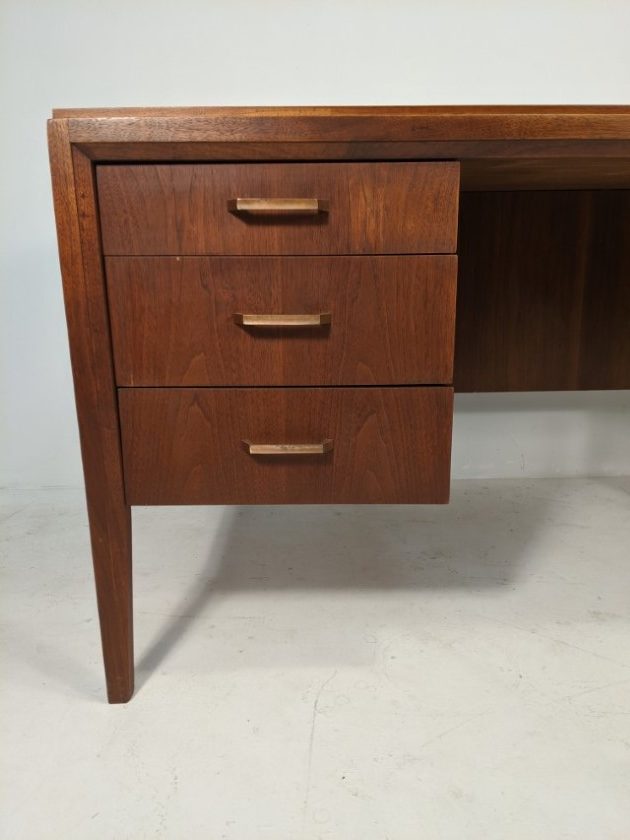
Before diving into restoration techniques, it’s essential to understand what makes mid-century modern design unique. This period, roughly spanning from the 1940s to the 1960s, emphasized simplicity, functionality, and a connection to nature. Walnut, with its rich color and grain, was a popular material choice among designers such as George Nelson and Charles Eames.
When restoring a mid-century modern walnut desk, it’s crucial to maintain its integrity and character. This means understanding the original finishes, construction techniques, and design elements that define the piece.
Assessing the Condition of Your Desk
Before you take any actions, perform a thorough assessment of your desk. Look for the following:
- Scratches and Dents: These can affect the overall appearance but are often fixable.
- Water Damage: Look for stains or warped areas, especially on surfaces that may have been exposed to moisture.
- Loose Joints: Check whether the legs, drawers, or other components are stable.
- Finish Integrity: Determine if the finish is flaking, cloudy, or in need of a refresh.
Gathering Your Restoration Supplies
Once you know what you need to address, gather the necessary supplies. Here’s a list of tools and materials you might need:
- Soft cloths for cleaning
- Wood cleaner or soap
- Fine-grit sandpaper (220-grit or higher)
- Wood stain (if necessary)
- Clear finish (polyurethane or shellac)
- Wood glue for repairs
- Putty for filling in holes or deep scratches
- Brushes and rags for applying finishes
Cleaning Your Walnut Desk
Start the restoration process with a thorough cleaning. This is crucial for removing dirt, grime, and oils that may have accumulated over time.
- Dust the Surface: Use a soft, dry cloth to remove dust from the surface and crevices.
- Apply Wood Cleaner: Use a gentle wood cleaner or a mixture of mild soap and water. Apply with a damp cloth, ensuring you don’t saturate the wood.
- Dry the Surface: Wipe off any excess moisture with a clean, dry cloth.
Repairing Scratches and Dents
Scratches and dents are common issues in walnut desks but can often be repaired with patience and the right techniques.
Using Wax and Fillers
For minor scratches, consider using a wax crayon that matches the wood color. For deeper scratches and dents:
- Fill the Scratch: Apply wood filler or putty that closely matches the walnut.
- Sand Smooth: Once the filler dries, sand it down with fine-grit sandpaper to make it level with the surrounding wood.
- Stain (if necessary): If the filled area stands out, apply a matching stain to blend it in.
Repairing Dents with Steam
Another effective method for repairing dents involves steam:
- Wet a Cloth: Dampen a cloth and place it over the dent.
- Use an Iron: With a warm iron, apply heat to the cloth. The steam will cause the wood fibers to swell, potentially raising the dent.
- Repeat if Needed: This process may need to be repeated to fully restore the surface.
Refinishing the Surface

If the desk’s finish is damaged or worn, refinishing may be necessary to restore its original beauty.
Sanding the Surface

Begin by lightly sanding the entire surface with fine-grit sandpaper. This will help remove old finishes and open up the wood grain for better absorption of new finishes:
- Smooth Evenly: Sand in the direction of the wood grain to avoid scratches.
- Dust Off: Wipe away dust with a clean cloth after sanding.
Applying Stain and Finish
After sanding, decide if you want to stain the wood:
- Choose a Stain: Select a stain that complements the walnut. Test it on a hidden area first to ensure you like the result.
- Application: Use a brush or cloth to apply the stain, following the wood grain.
- Let it Dry: Follow the manufacturer’s instructions for drying time.
- Apply Clear Finish: Once the stain is dry, apply a clear protective finish. Polyurethane is durable, while shellac offers a traditional look.
Maintaining Your Restored Desk
Once your mid-century modern walnut desk has been restored, proper maintenance will help keep it looking great:
- Regular Dusting: Use a soft cloth to dust the surface regularly to prevent build-up.
- Avoid Harsh Chemicals: Use only mild cleaners designed for wood to avoid damaging the finish.
- Control Humidity: Wood can warp in extreme humidity; keep your desk in a stable environment.
Restoring a mid-century modern walnut desk is not only a rewarding project but also an opportunity to preserve a piece of design history. By assessing the desk’s condition, cleaning it thoroughly, addressing scratches and dents, and refinishing the surface, you can breathe new life into your furniture. Remember, the key to successful restoration lies in patience and attention to detail. With proper maintenance, your desk will not only serve its functional purpose but also stand as a testament to quality craftsmanship and timeless design for years to come.